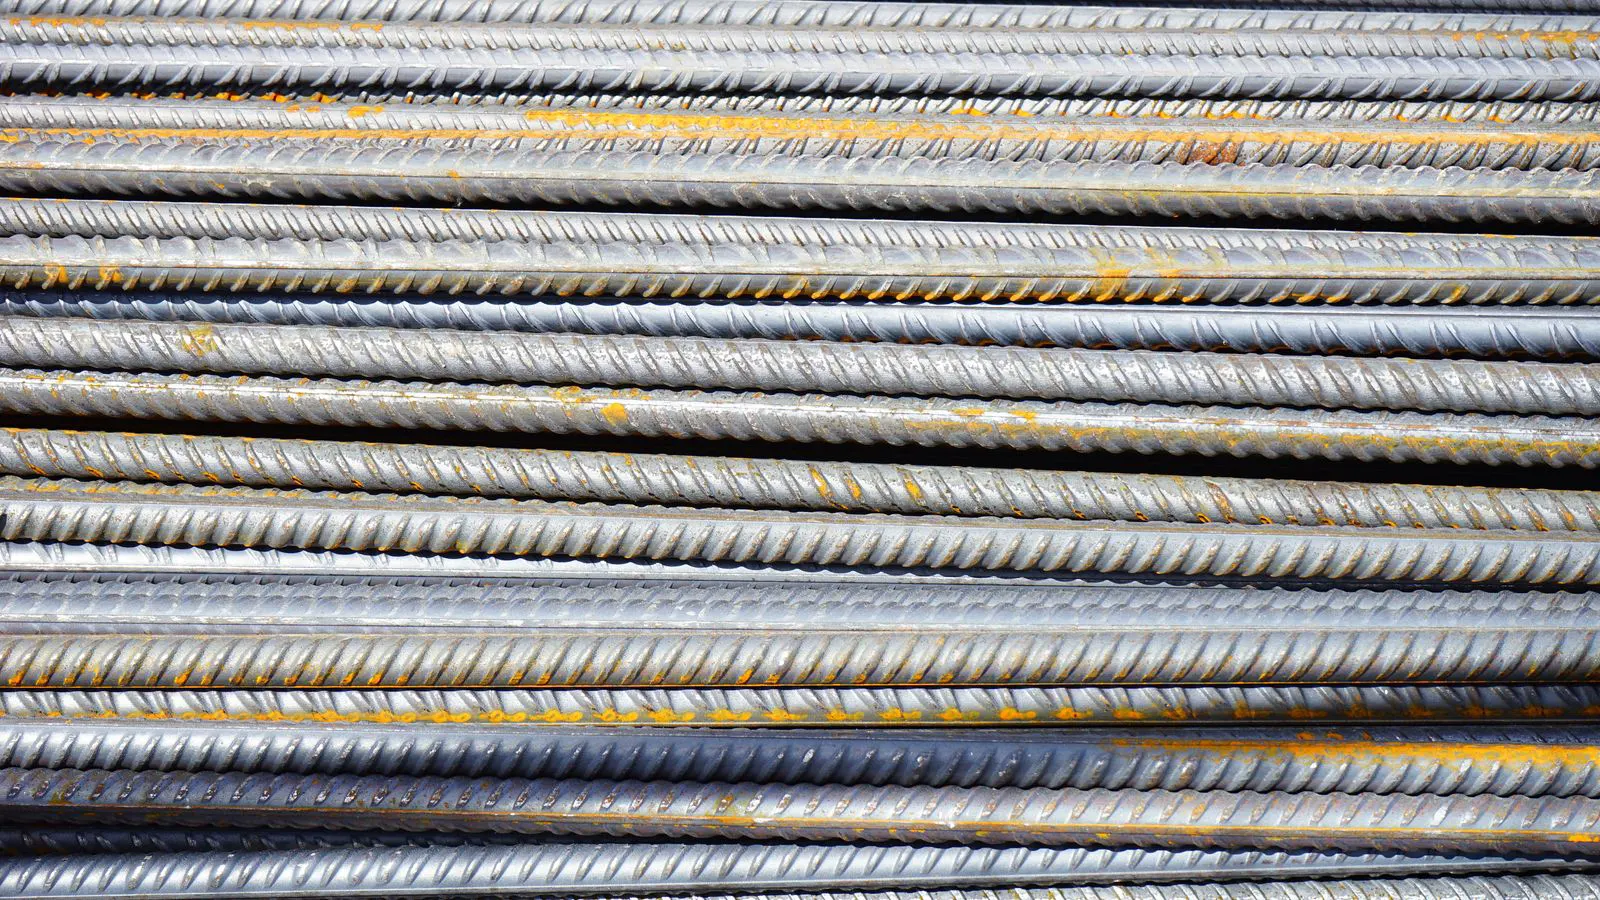
How To Select Wire Diameter for Concrete Reinforcement Systems

Selecting wire diameter requires balancing structural load, bar spacing, and corrosion risk. Follow a structured process to match steel wire specification to your specific reinforcement sizing needs and ensure long-term durability.
- Match wire diameter to calculated load capacity and maximum bar spacing.
- Verify local code requirements and specific steel wire specification standards.
- Account for corrosion potential when choosing gauge or coating.
- Check bendability and fabrication constraints before finalizing the design.
- Confirm final reinforcement sizing through a peer review process.
Prerequisites: What You Need Before Choosing a Diameter
Start with the structural drawing and the load calculation. Without these, you are guessing. The diameter of the wire is not a product choice; it is a structural variable. You need the ultimate load, the allowable stress, and the design code that governs the project.
Gather the bar spacing from the drawing. Spacing and diameter are linked. A thicker wire can be placed further apart than a thinner wire. If the drawing shows a maximum center-to-center distance, that distance sets a minimum diameter requirement.
Confirm the grade of steel. Carbon steel, high-strength rebar, and prestressed strands all behave differently. The yield strength and elongation values change with the grade. Your wire diameter selection changes when you swap a standard grade for a high-strength grade, even if the load stays the same.
Check the environment. Is the structure exposed to salt spray, ground water, or industrial chemicals? This determines if you need galvanized, epoxy-coated, or corrosion-resistant alloy wire. Coatings affect the effective cross-section and the cost, so factor these variables into your sizing decision early.
Step 1: Define the Load Path and Tension Zone
Identify where the wire carries tension. In a simple beam, tension is at the bottom. In a column, it can be uniform. In a slab, it is typically two-way. Map the zones.
Calculate the required tensile force in that zone. Use the load calculation to find the force in Newtons or kilonewtons. Do not use the dead load alone. Include the live load and the safety factors required by your local code.
This step prevents the most common error: sizing for the dead load only. If the wire is too small for the live load, the concrete will crack before the wire yields. You want the wire to yield or fail last, after the concrete has cracked and the load has redistributed.
Step 2: Apply the Minimum Diameter for Spacing
Look at the maximum allowed spacing from the code or the drawing. This is often governed by crack control and shear transfer.
If the drawing specifies 300 mm spacing, your wire diameter is constrained. You cannot use a 4 mm wire if the code or design requires a minimum 6 mm wire for that spacing. The 300 mm spacing might be valid for a 6 mm wire, but not for a 4 mm wire.
Check the ratio of wire diameter to spacing. Some codes limit the ratio to ensure the concrete covers the wire adequately. If you use a very thin wire in wide spacing, the concrete cover between bars becomes large, and the crack width may exceed the limit.
This step is a hard constraint. It is not a preference. If the spacing requires a larger diameter, you must use that larger diameter, even if a smaller one would meet the load capacity.
Step 3: Check the Steel Wire Specification and Grade
Match the grade to the calculated stress. Divide the required tensile force by the allowable stress of the grade. This gives you the required net cross-sectional area.
For example, if you need 500 kN of force and the allowable stress is 250 MPa, you need 2000 mm2 of area. A 10 mm wire has an area of roughly 78.5 mm2. You would need about 26 wires of 10 mm diameter.
Be careful with high-strength rebar. It has higher yield strength but lower elongation. If you use high-strength rebar, you can reduce the number of wires, but you must ensure the design allows for the lower ductility. Do not assume that high-strength grade always allows for smaller diameters. The fabrication and bending requirements may dictate a larger minimum diameter.
Always verify the specific steel wire specification for your project. Different regions and codes reference different standards. The grade markings and test requirements vary.
Step 4: Evaluate Bendability and Fabrication Constraints
Wires must be bent. Straight wires are easy to calculate. Bent wires are harder.
Check the minimum bend radius for the grade. A 12 mm wire of standard grade might bend easily. A 12 mm wire of a high-strength grade might crack at the outer fiber if bent too tightly.
Consider the splicing method. If you are using lap splices, the length of the lap depends on the diameter. A thicker wire needs a longer lap to develop the bond. If the space is tight, a thicker wire might not fit.
This step often forces a change. You might calculate that an 8 mm wire is sufficient, but the design requires a 90-degree bend with a 5D radius. The 8 mm wire might not bend without cracking. You may need to go up to a 10 mm wire, or use a different grade, or change the detailing to avoid the sharp bend.
Step 5: Account for Corrosion and Environmental Exposure
Corrosion reduces the effective area over time. A 6 mm wire might be 5 mm in diameter after ten years of exposure in a corrosive environment.
For structures in marine or industrial zones, you must select a diameter with a corrosion allowance. This is not always a formal code requirement, but it is a practical one.
Consider the coating. Galvanized wire adds a layer of zinc. Epoxy-coated wire adds a polymer layer. These coatings protect the core, but they also add to the diameter and affect the bond.
If you use a coated wire, check the manufacturer’s data for the minimum bend radius and the splice requirements. Coated wires are often more brittle than plain wire. A 6 mm plain wire might be standard, but a 6 mm epoxy-coated wire might need to be bent to a larger radius, or a 8 mm plain wire might be a better choice for durability.
Step 6: Review the Reinforcement Sizing Against Crack Width Limits
Crack width is a serviceability limit state. It is about appearance and durability, not just strength.
If the wire diameter is too small for the spacing, the crack width will be larger. Large cracks allow water and chlorides to reach the wire. This accelerates corrosion.
Check the code limit for crack width. It is often related to the bar diameter and the cover. If your calculated crack width exceeds the limit, you must either reduce the spacing or increase the diameter.
This step is where many projects fail. The wire is strong enough, but the cracks are too wide. The structure is safe, but it is not serviceable. The owner will reject it, and the contractor will have to add more wire or reduce the spacing.
Step 7: Confirm with a Peer Review
Before you order, have another engineer review the calculation. Look for the mistakes that are easy to miss.
Check the units. Did you use mm2 for area and MPa for stress? If you mixed up kN and N, your area will be wrong by a factor of 1000.
Check the load factors. Did you use the correct factor for dead load and live load?
Check the spacing. Did you use the center-to-center distance or the clear distance?
This review is not a formality. It catches the errors that slip through a single pass. It is the final gate between the design and the fabrication shop.
Common Mistakes in Wire Diameter Selection
The most common mistake is sizing for dead load only. The live load is often larger, and the safety factors increase the required area significantly. If you ignore the live load, your wire will be undersized.
Another mistake is ignoring the spacing. A smaller wire can be placed further apart, but only up to a point. If the spacing is too large for the wire diameter, the crack width will exceed the limit.
A third mistake is not checking the grade. Swapping a standard grade for a high-strength grade changes the allowable stress and the ductility. You cannot simply swap the wires. You must recalculate the area and the bend radius.
A fourth mistake is forgetting the corrosion allowance. In a harsh environment, a standard wire will corrode and lose strength. You must select a larger diameter or a protected wire.
Final Verification Step
Before you issue the purchase order, verify the final reinforcement sizing.
Compare the selected diameter to the drawing. Confirm the grade, the length, and the quantity.
Check the steel wire specification document. Ensure the grade matches the drawing.
Verify the fabrication plan. Confirm that the bends and splices are possible with the selected diameter.
Sign off on the calculation. The calculation should show the load, the area, the diameter, and the spacing. If any of these numbers change, the calculation must be updated.
This final step ensures that the wire you order is the wire you designed. It prevents the expensive mistake of ordering the wrong diameter and having to return it or redesign the structure.
Frequently asked questions
Can I use a smaller wire if I increase the number of wires?
Yes, but you must check the spacing and the crack width limit. If you use smaller wires, you may need to place them closer together, which increases the number of wires and the fabrication complexity.
Does the grade of steel affect the minimum diameter?
Yes. High-strength steel has a higher yield strength but lower elongation. It may require a larger minimum diameter for bending and splicing, even if the required area is smaller.
What is the difference between center-to-center spacing and clear spacing?
Center-to-center spacing is the distance from the center of one wire to the center of the next. Clear spacing is the distance between the surfaces of the wires. Codes usually specify center-to-center spacing.
How do I check if a wire is suitable for a corrosive environment?
Look for corrosion-resistant alloys, galvanizing, or epoxy coatings. Check the manufacturer's data for the corrosion allowance and the minimum bend radius for the coated wire.
Can I change the wire diameter after the drawing is issued?
You can, but you must update the calculation and get it approved by the structural engineer. Changing the diameter affects the load capacity, the crack width, and the fabrication plan.